When I first noticed the old refrigerator sitting next to my neighbor’s trash, I couldn’t help but laugh. It looked like something dragged out of a basement from decades ago, scratched up and clearly past its prime. I figured it was just another piece of junk headed for the landfill. But then, as I walked past it, something unexpected caught my attention—the scent. A sweet, earthy smell drifted through the air, like dried fruit and herbs basking in the sun.
I stopped, confused, and turned back. That’s when I realized my neighbor wasn’t tossing that fridge—he had transformed it. There he was, standing in the sunlight, hands busy at work, tending to his homemade project. I peeked inside and was floored by what I saw: trays lined with slices of fruit, vegetables, and herbs, all gently drying under the warmth of natural heat. I went straight home and started looking for an old refrigerator of my own. If you’ve got an old fridge lying around—or know someone who does—you might want to hold off on getting rid of it. With a little elbow grease, it can become one of the most useful tools in your backyard. What my neighbor created was a solar food dryer, crafted entirely from the shell of a refrigerator. It’s not only a clever reuse of a bulky appliance but also a great solution for those with gardens, orchards, or even a weekend cabin in the countryside.
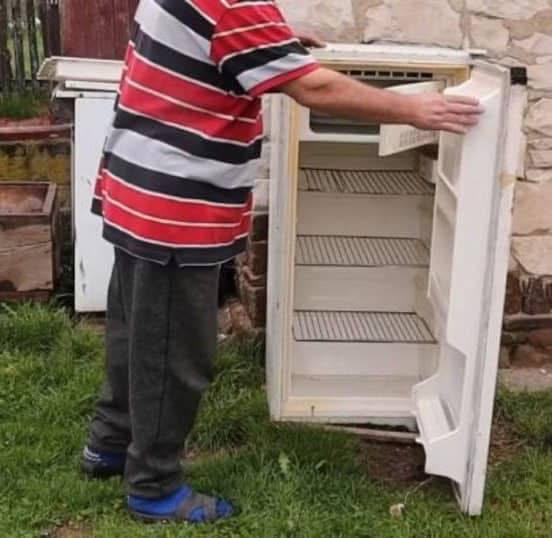
The first step in building your own solar dryer is gutting the fridge. Remove everything from the interior, including shelves, drawers, and especially the freezer unit. The goal is to leave behind only the outer frame and the door. Once the freezer compartment is cleared out, cut an opening through it so air can circulate freely. Then, drill a hole in the bottom of the fridge for additional ventilation. This helps maintain airflow and ensures that moisture doesn’t get trapped inside. Next, strip all the insulation material from the fridge walls. While insulation works great for keeping things cold, it’s not ideal for a solar dryer that needs heat to move in and out efficiently. With the interior stripped and open, you’re ready to move on to the next step—adding a window to the fridge door. Rather than removing the door, cut a large rectangular opening and insert a sheet of glass.
This acts like a mini greenhouse, trapping heat while letting sunlight stream in. Be sure to seal the edges tightly using foam insulation, and for added durability, lightly melt the foam with a blowtorch to make it hold firmly in place. After installing the glass, the final step is to cover all new openings with fine metal mesh.
This mesh is essential—it allows air to circulate, which is key to the drying process, but it also keeps bugs and critters from getting inside and ruining your food. Once everything is in place, set the fridge in a sunny part of your yard, and you’re ready to go. You now have a fully functional, low-cost solar dryer. Whether you’re drying apples, tomatoes, herbs, mushrooms, or even fish and meat, this setup works beautifully. It’s energy-efficient, sustainable, and surprisingly effective. No need to buy an expensive dehydrator or run up your power bill. The sun does all the work, and the fridge shell provides the perfect insulated space for it. What impressed me the most wasn’t just how well it worked—it was how simple it was to create. Anyone with basic tools and a bit of time can build their own. It’s one of those ideas that makes you wonder why more people haven’t tried it. From what seemed like worthless trash, my neighbor created a tool that’s not only practical but also environmentally friendly. So the next time you see an old refrigerator waiting to be hauled away, think twice. With a little creativity and effort, it might just become the handiest thing in your backyard.